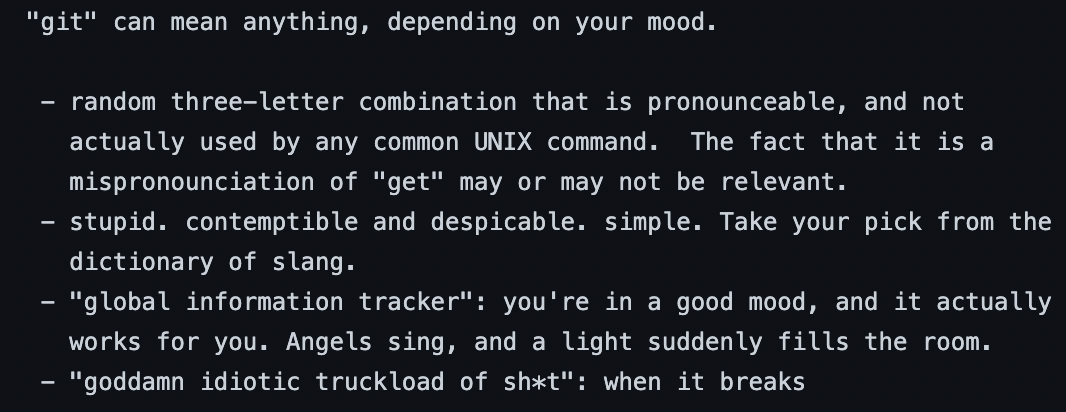
Getting Started With GIT

Photo by Jukan Tateisi on Unsplash
Git is a handy tool for keeping track of and sharing your code. For more of an overview you can check out my previous post on the topic before diving into this one, where I'll be doing a bit more of a "How to" guide on getting stared with git and cloud repositories. NB to follow along, it may help to be familiar with basic command line syntax.
How can I access git?
Git is a resource that can be used from the command line via a Command Line Interface (CLI); Mac users you might be using terminal, Windows users might be using PowerShell. You also might be using a built in terminal in your development environment (e.g. VS Code or PyCharm). There are of course many other options. For this how to, I'll be using the linux commands, so if you're a Windows user and things aren't working, check whether your chosen CLI is expecting the linux syntax.
It is possible to use the user interfaces in cloud repositories for most things you can do with git, however, this functionality will vary between providers and can often be more convoluted and take you more time.
Firstly, you'll need to install git so you can get access to the functionality. You'll likely want to do this in the way you install most of your software from the command line, personally as a Mac user I do everything like this via Homebrew. If you're not sure how to install git from your device (whichever Operating System you use) - you can check out the directions here.
Configuring your git
You'll need to set up your identity so that it's clear in the repository who has made the changes and how to contact you. You can do this by using the following code, but replacing my name with yours, and the example email address with your one.
$ git config --global user.name "Shruti Turner"
$ git config --global user.email shrutiturner@example.com
Making a git repository
You can make a local git repository as follows. You might want to use these for short term version control (I'd be careful with this as it can spiral quickly!) or with other tools e.g. cloud providers, GitLab etc.
Starting with an existing folder
If you've got a folder of code on your local device and you'd like to make this a git repository so you can start using version control, in a few simple steps you can make this happen.
In your command line, navigate to inside the folder that you would like to become your repository. For example:
$ cd Documents/Projects/repo-example
In this case repo-example will have your scripts in and the rest of the file structure for your project.
Once you're in, it's time to create your new repository using the following:
$ git init
If run successfully, you should have created a .git subfolder in the repo-example folder. This contains all the metadata required for your git repository.
Creating a new folder
If you're starting a new folder to be your git repository, you can do this from the command line providing you know the desired path of the new folder:
$ git init <path>
This will create a new folder at the given path, containing only the .git subfolder. This is your empty git repository where you can begin writing your scripts.
What if you want to use a cloud repository?
If you would rather use remote storage, you'll need a cloud repository to store the different versions of your code. There are plenty available, but I'll be using GitHub. It's one of the most commonly used repositories and it's free. You'll need an account before you start and you'll be prompted to login where required so remember your details.
It's important to remember, that git is not the same as GitHub - git is the library with the processes for the version control, but GitHub is the online repository.
Now, here I'll be honest with you and perhaps purist may get upset with the steps to follow but I think I'm outlining the simplest way to go about creating a repo in GitHub (I'm happy to be proved wrong though!) It is possible to create a GitHub repo without using the online User Interface (UI) but it requires the use of the GitHub CLI. Personally, I haven't found the need for the GitHub CLI in my project work so I use the online UI for this one job each project.
Repository Origin
The origin of the repository is usually referring to the online version, the one that everyone can access and copy/branch from. This is something I like to think of as the "ground truth" - this is what we should be working off. Everything we do is in reference to the origin, and so when we are done with our changes, we want to "push" them to the origin. When there are changes to the origin that we want, we should "pull" them.
Setting up a new remote repository
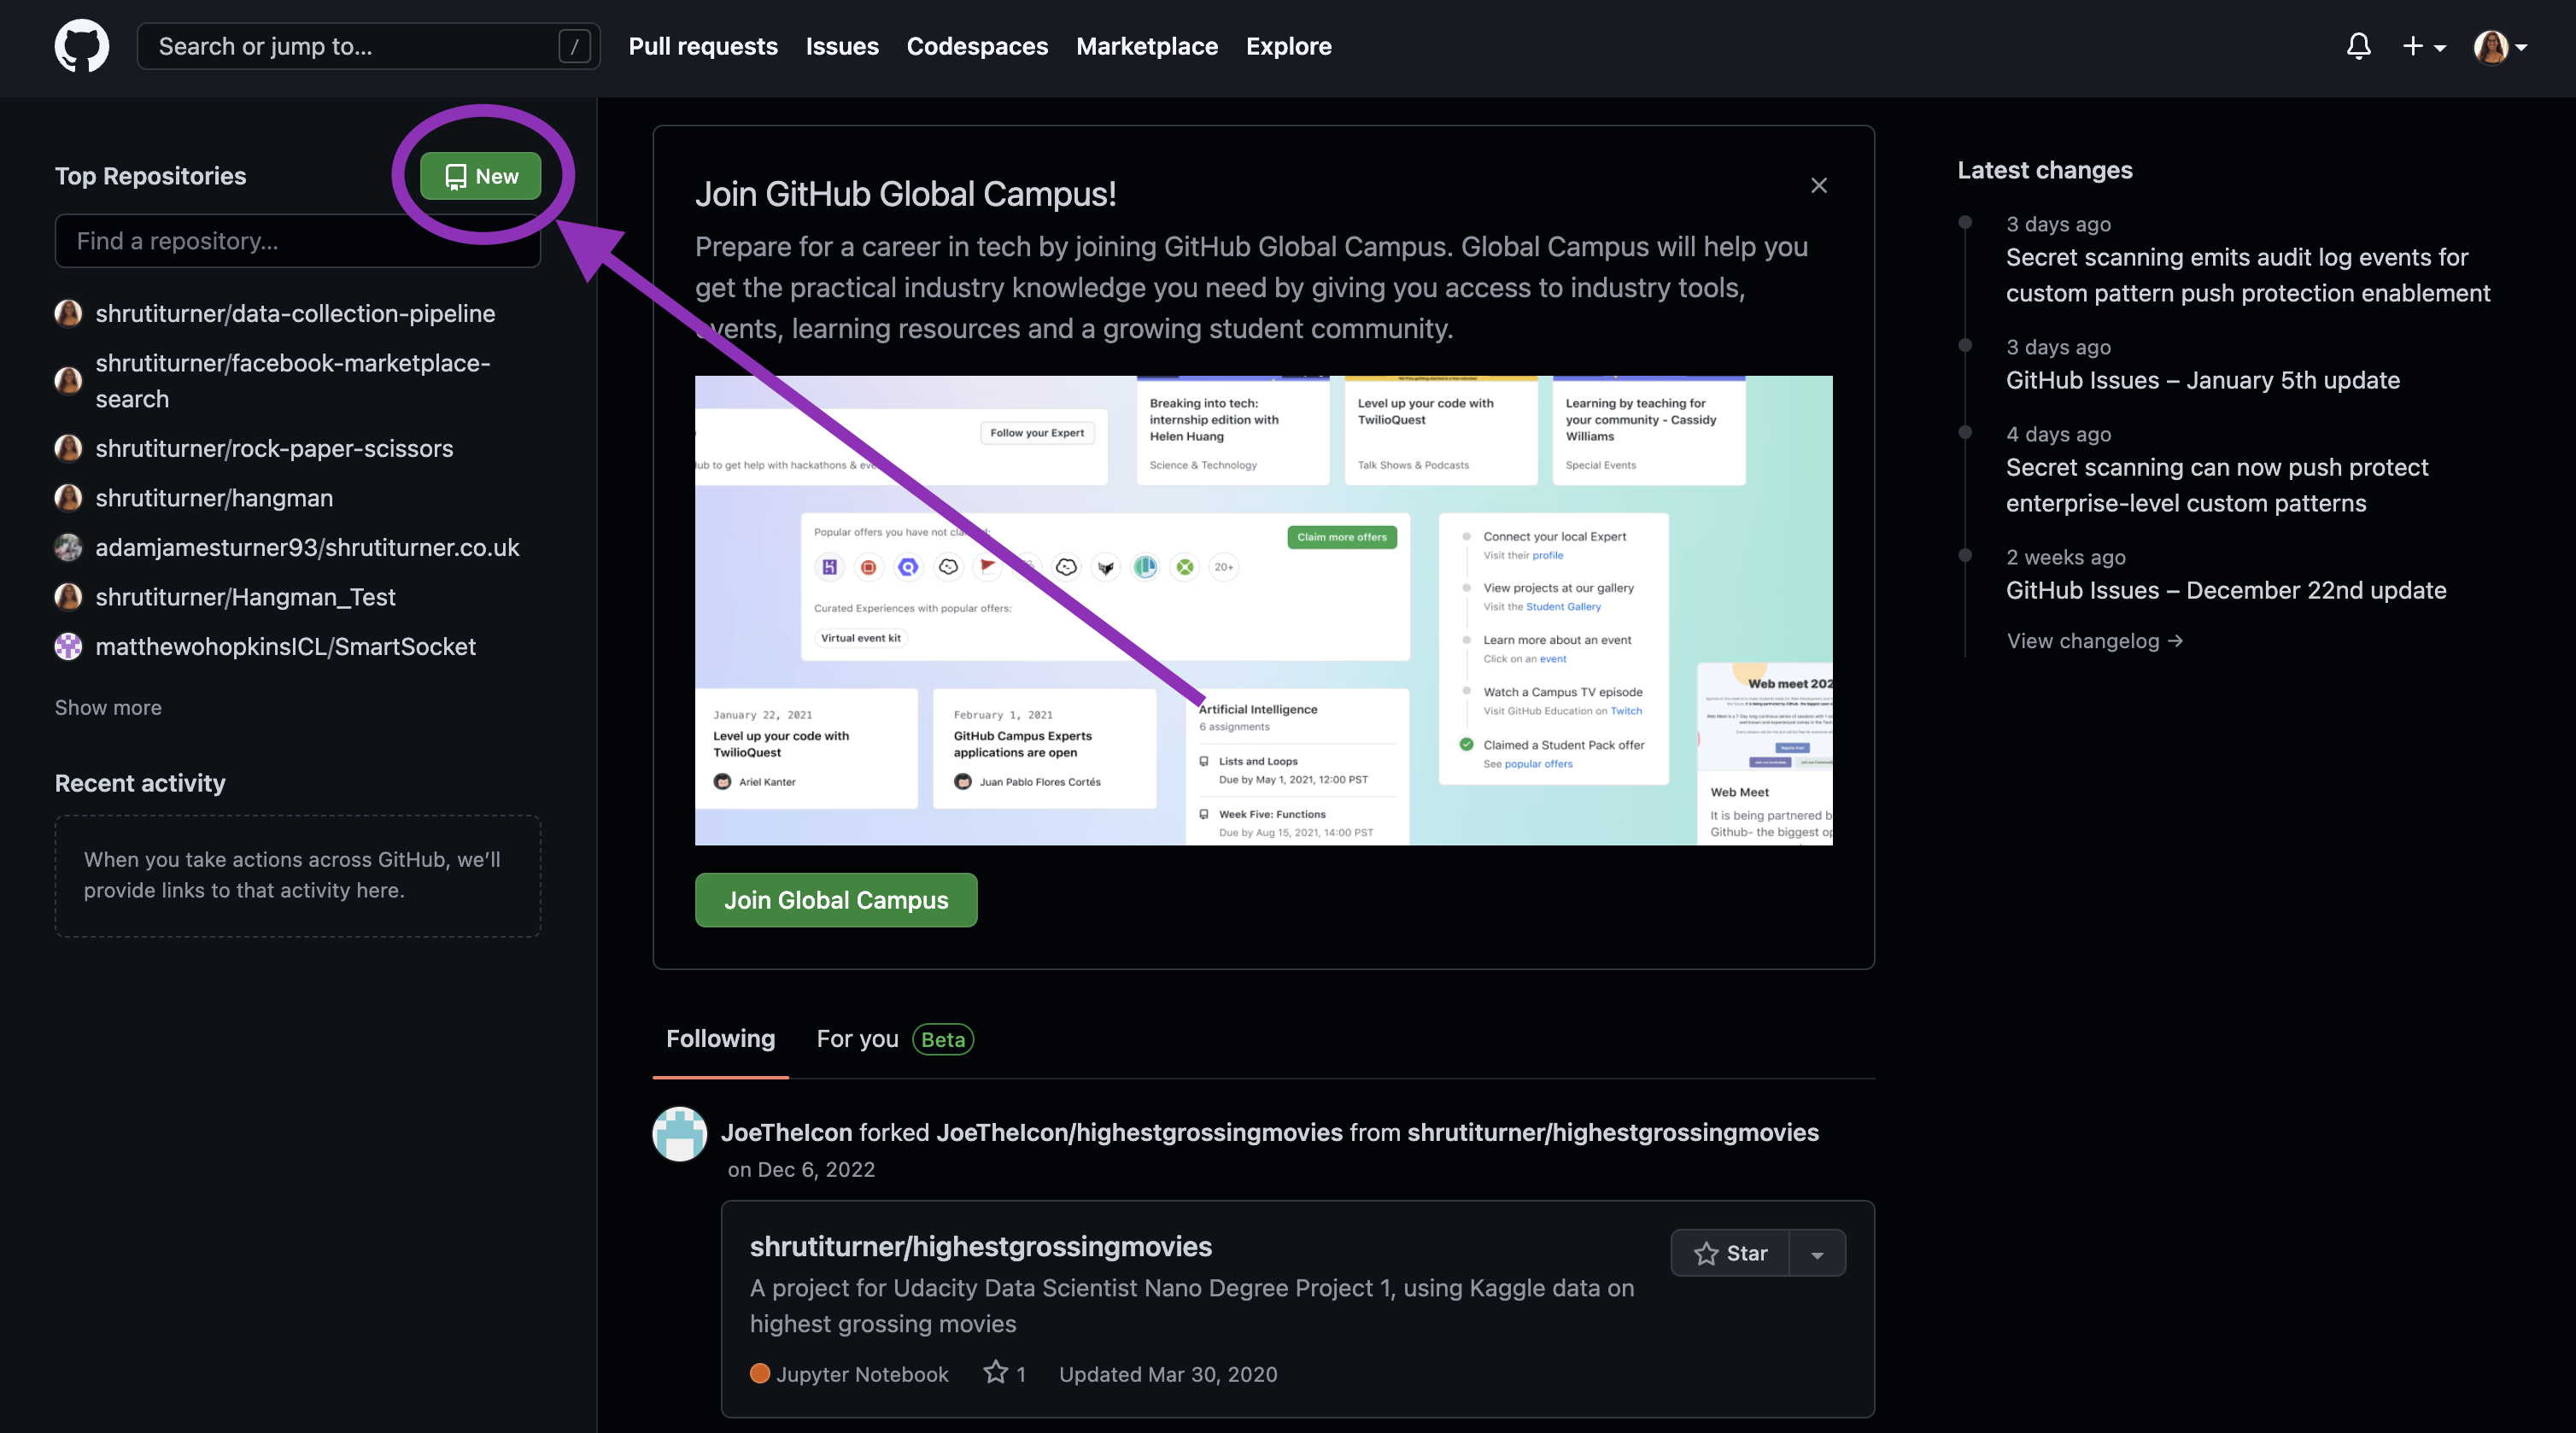
When you login to GitHub there's a button to create a new repo, click on this to start creating a new empty repo in GitHub. NB, you won't have a list of repo links, it'll be empty if this is a brand new account.
You will be presented with a page asking for different inputs and options to create your repo with, including the name (which must be unique) and privacy. If you're just having a play around/test then you might want to make your repo private, but if you're looking to showcase your experience then it's likely you'd rather it was public.
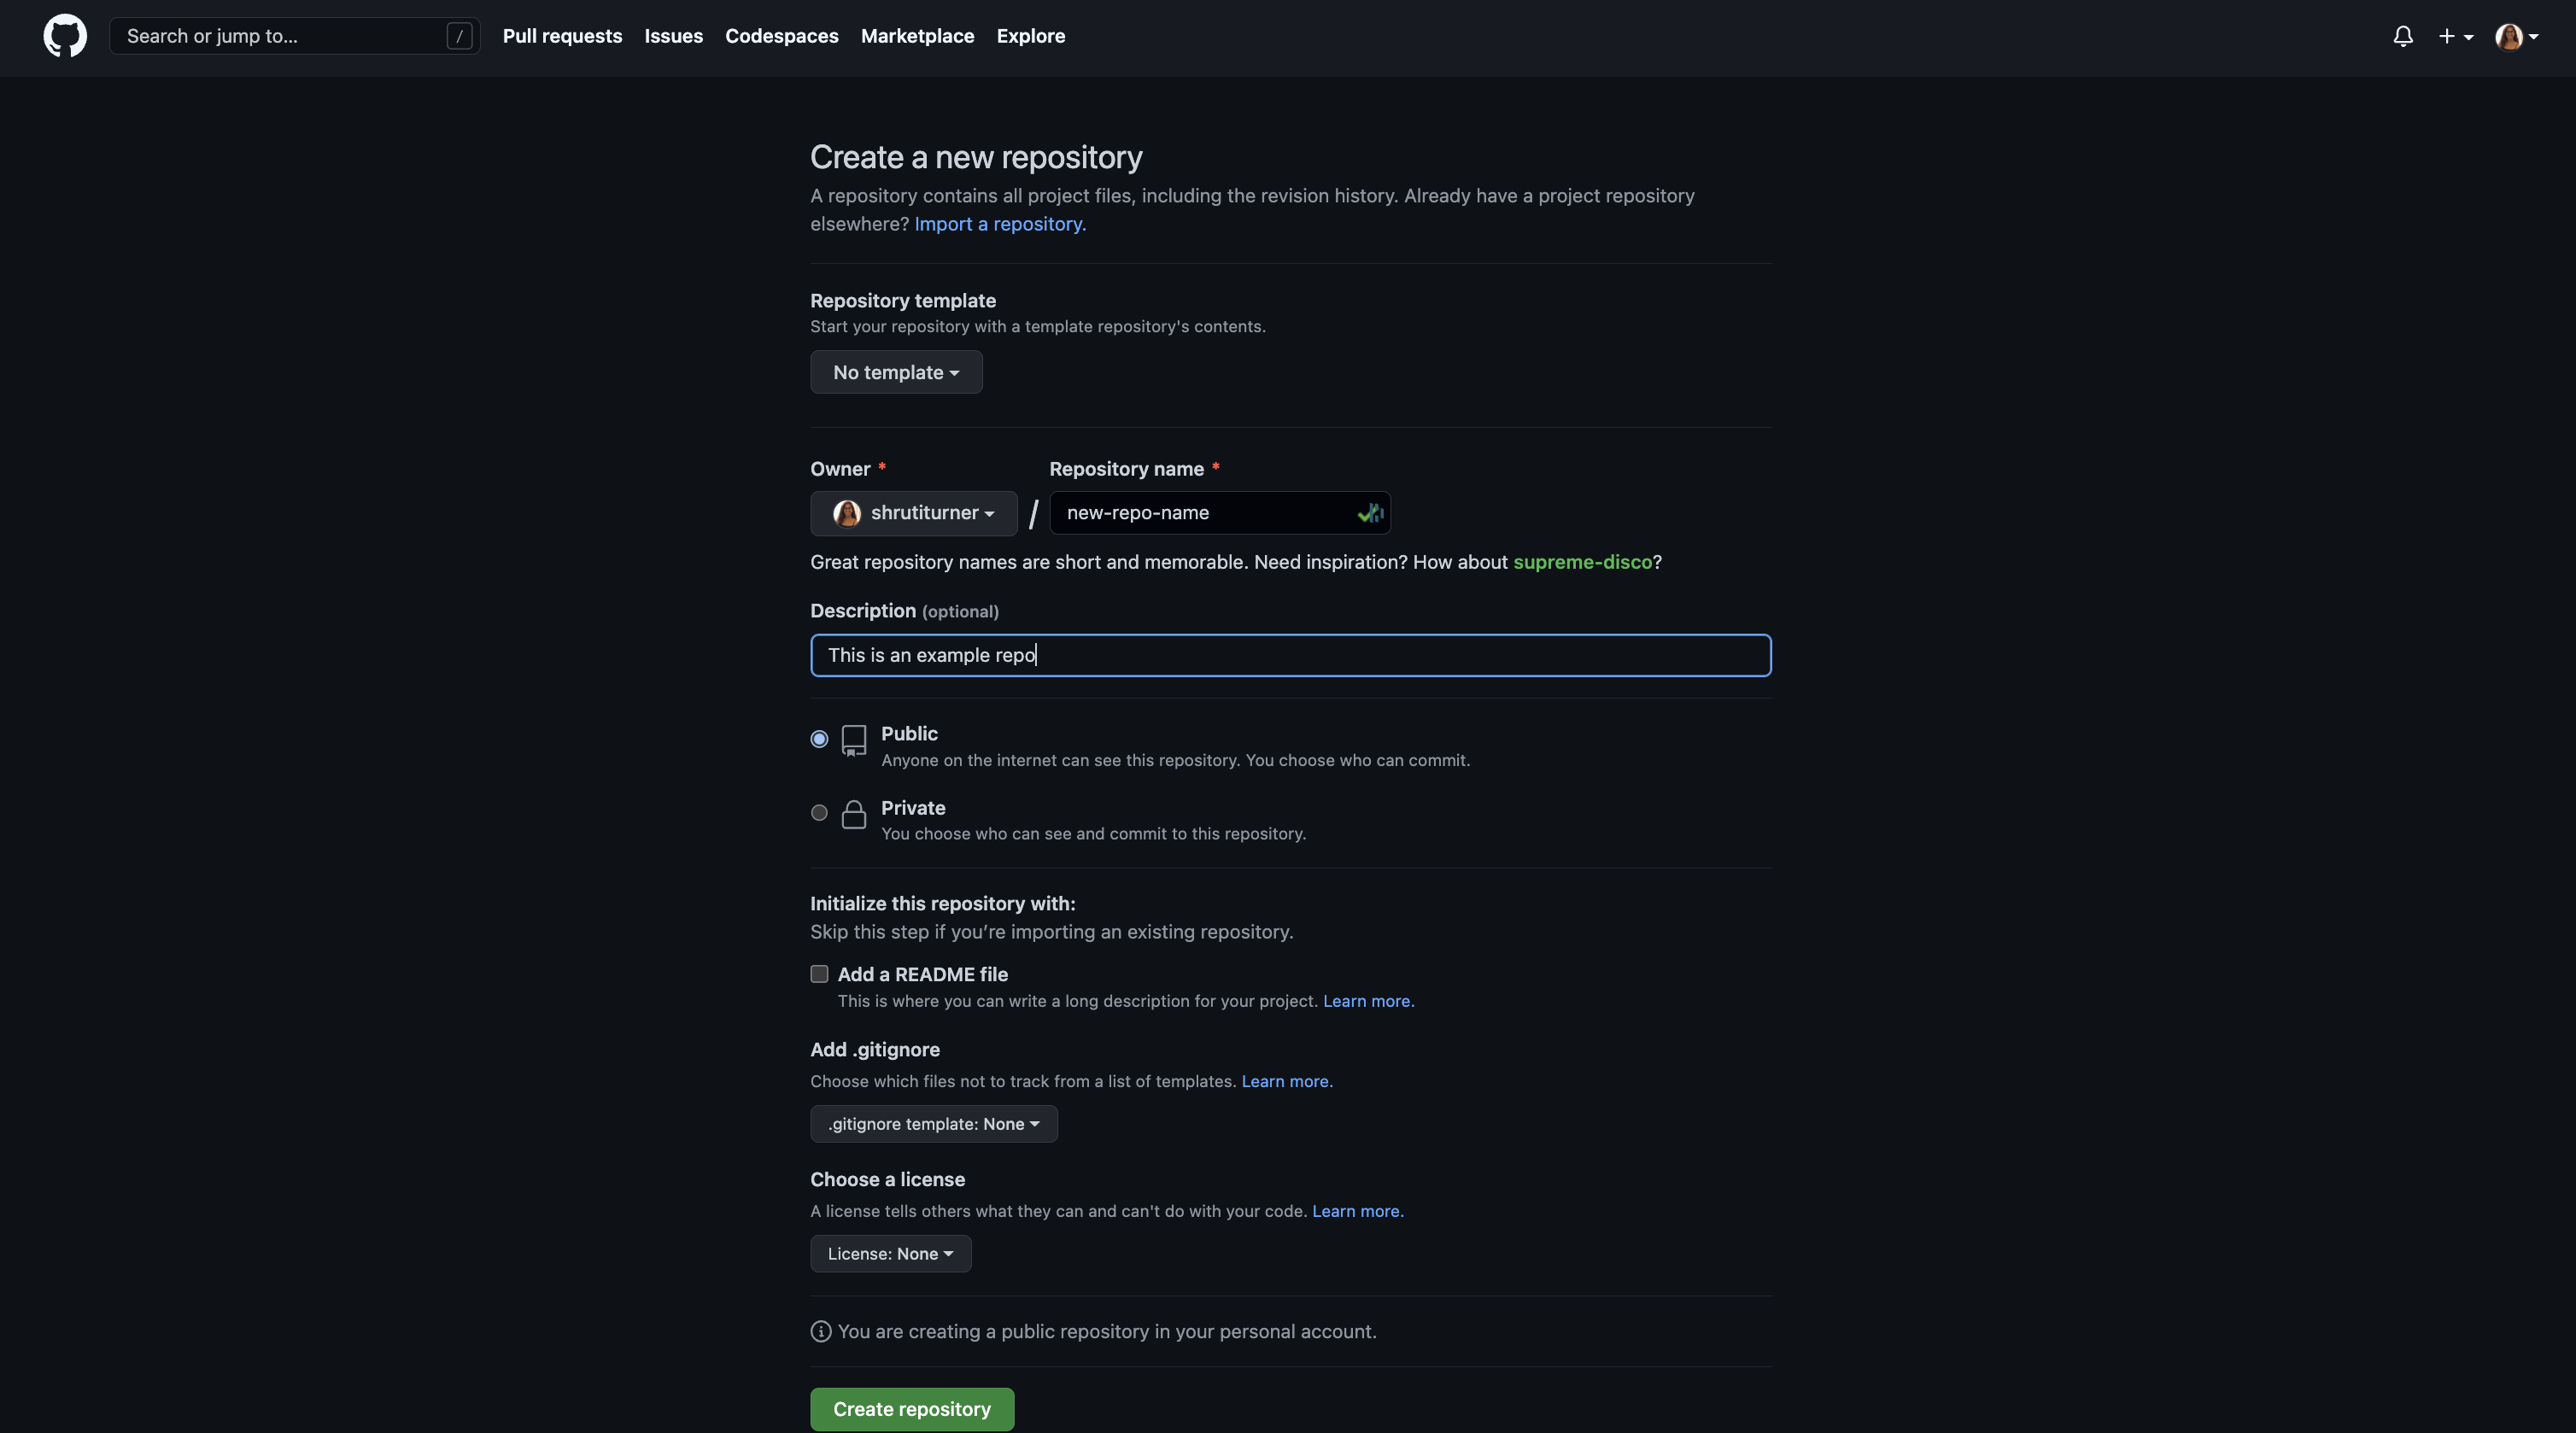
When you've completed your repo creation, you'll be taken to it and it should contain nothing (other than a README.md if you chose this option at creation).
Using your new repository
From here you'll need a few more steps to enable you to access your git repo from your computer and the command line. When you are taken to your repo for the first time, the instructions are helpfully displayed for you.
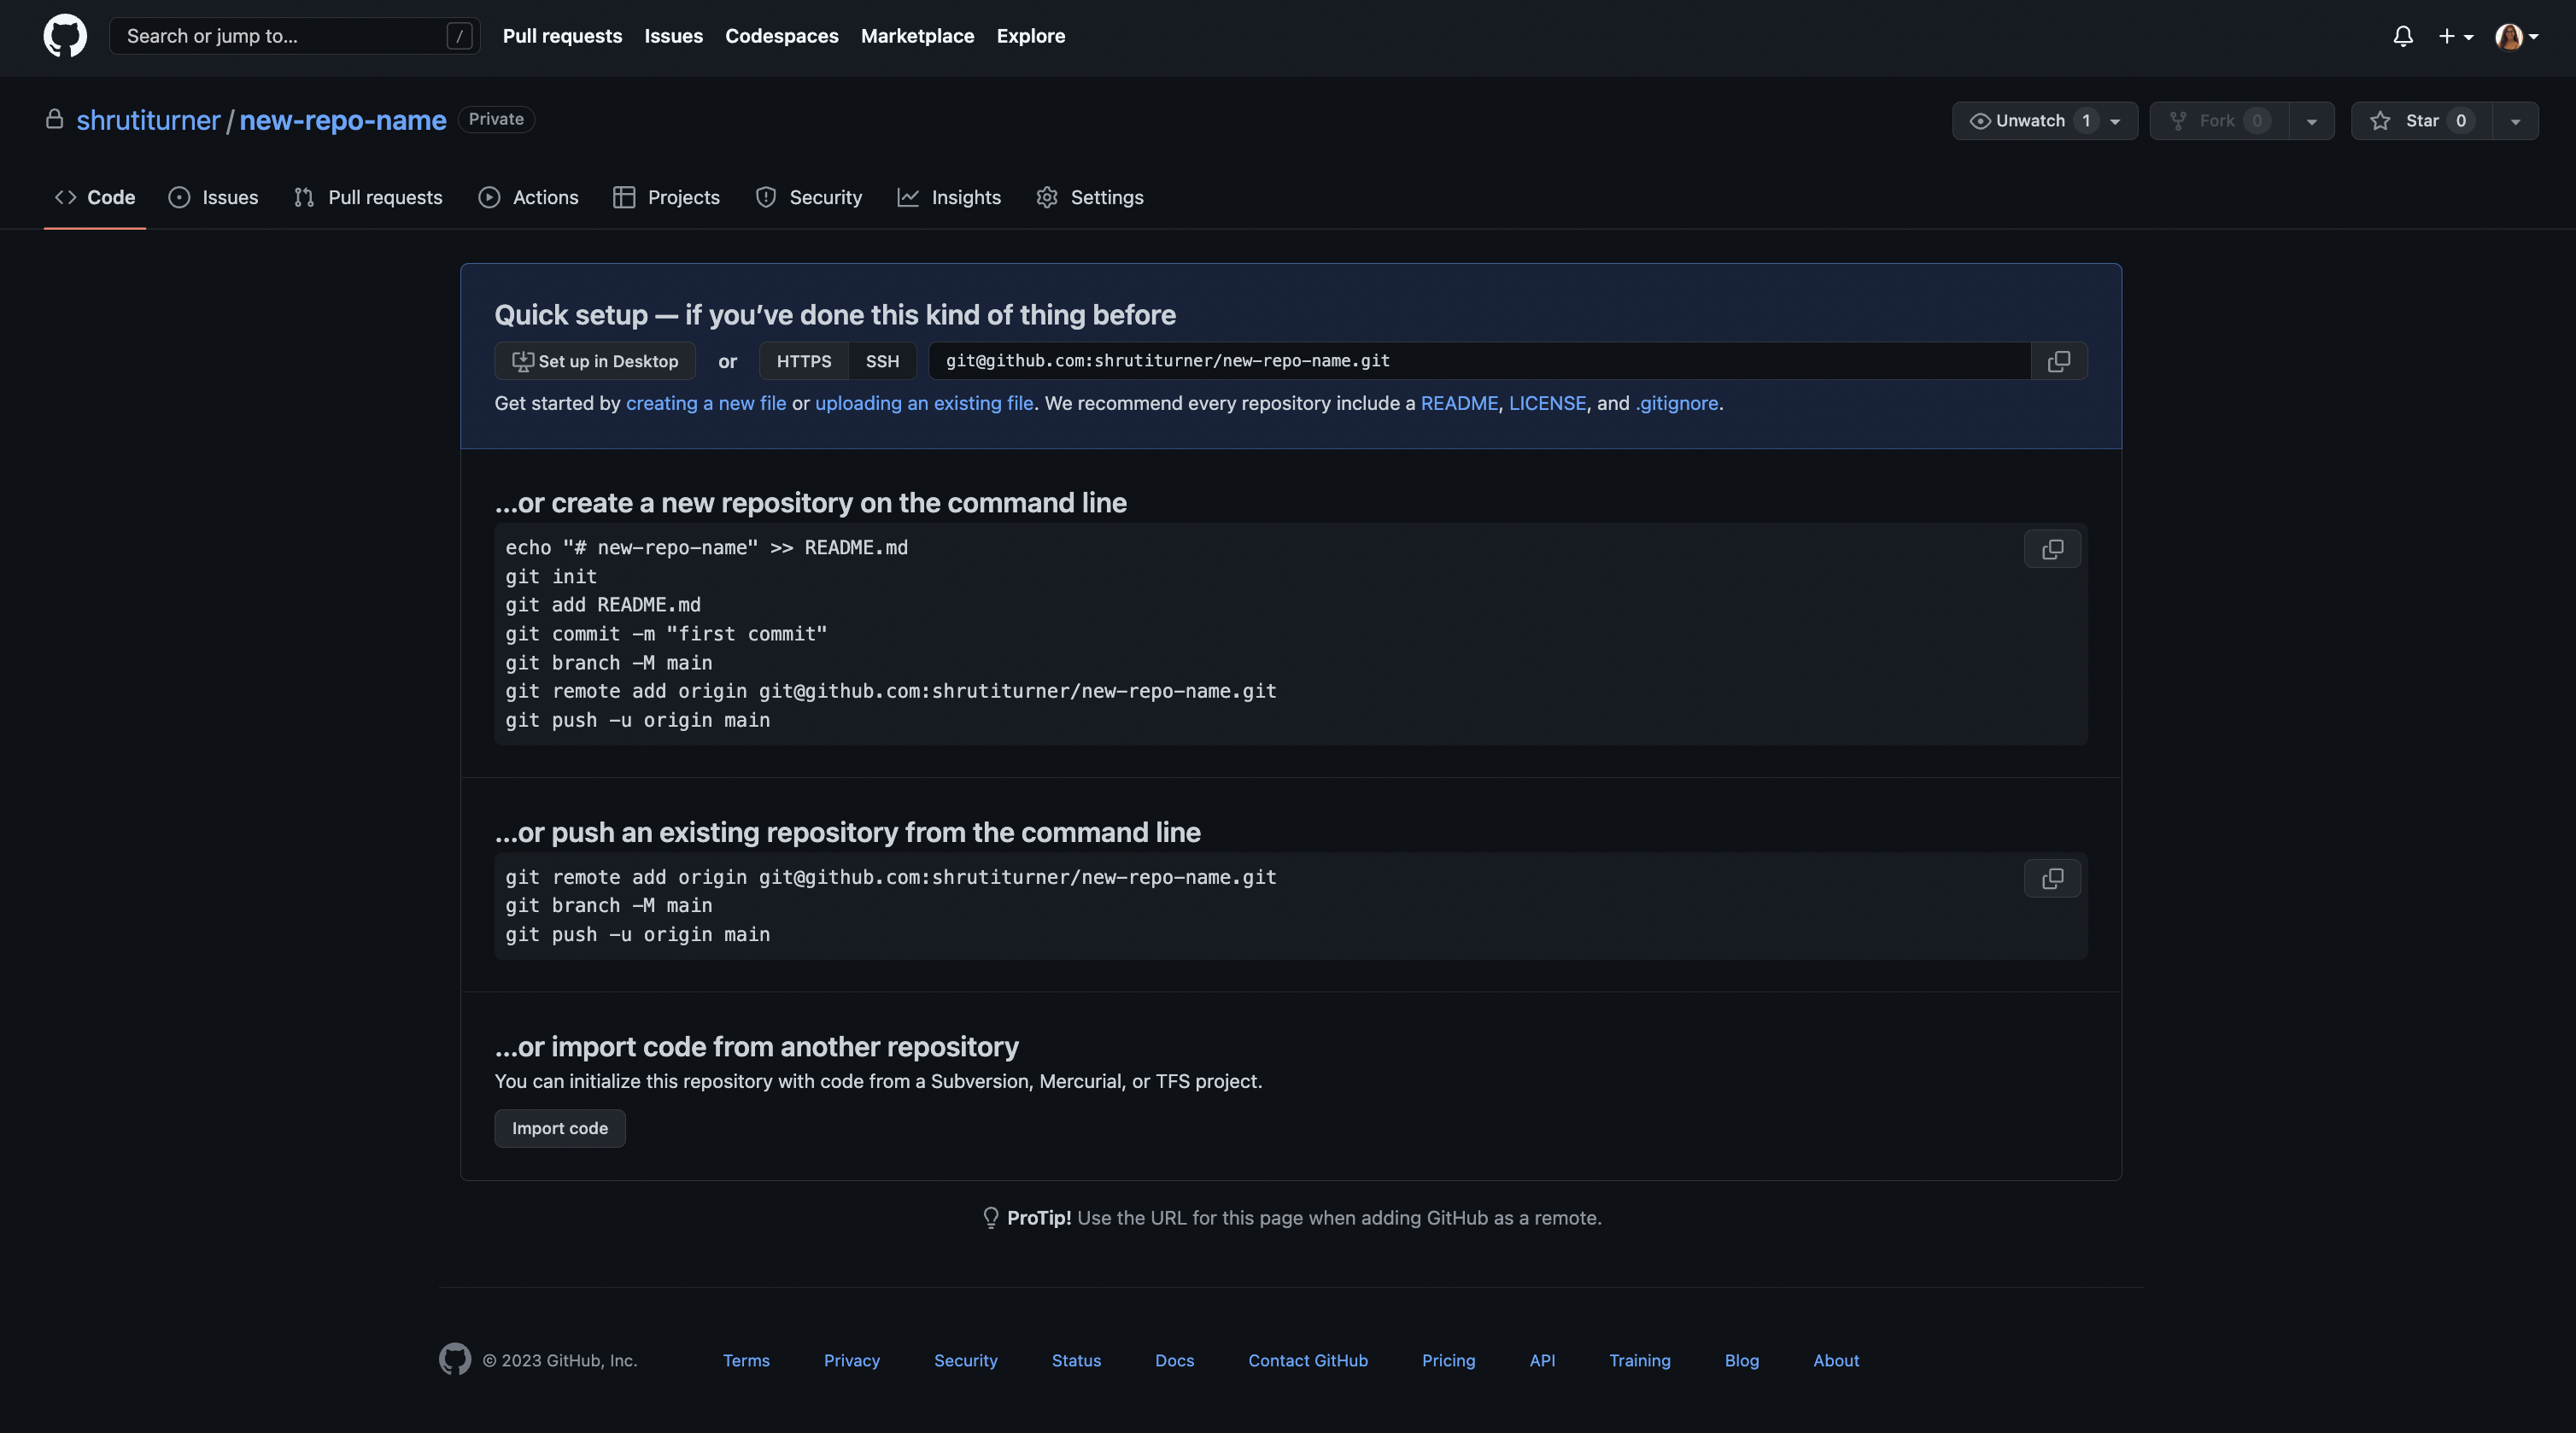
NB Usually in your repository, there will be a code button, in green towards the top right above where your files will show. When clicked you will be presented with the clone options that do as described above. This allows you (or anyone with access) to clone the repo at any time.
For now, let's start with using the HTTPS option, this enables us to copy the contents of the repository including the .git folder so we can connect to the repo remotely via the URL provided. NB I like to use SSH but it requires a little more set up but are more efficient in the long run as you don't have to keep putting in your credentials - check out how to this here.
Copy the HTTPS URL and return to your CLI, navigating to where you would like the folder to be. We will then use the following code, where the url is what you copied from GitHub:
$ git clone <url>
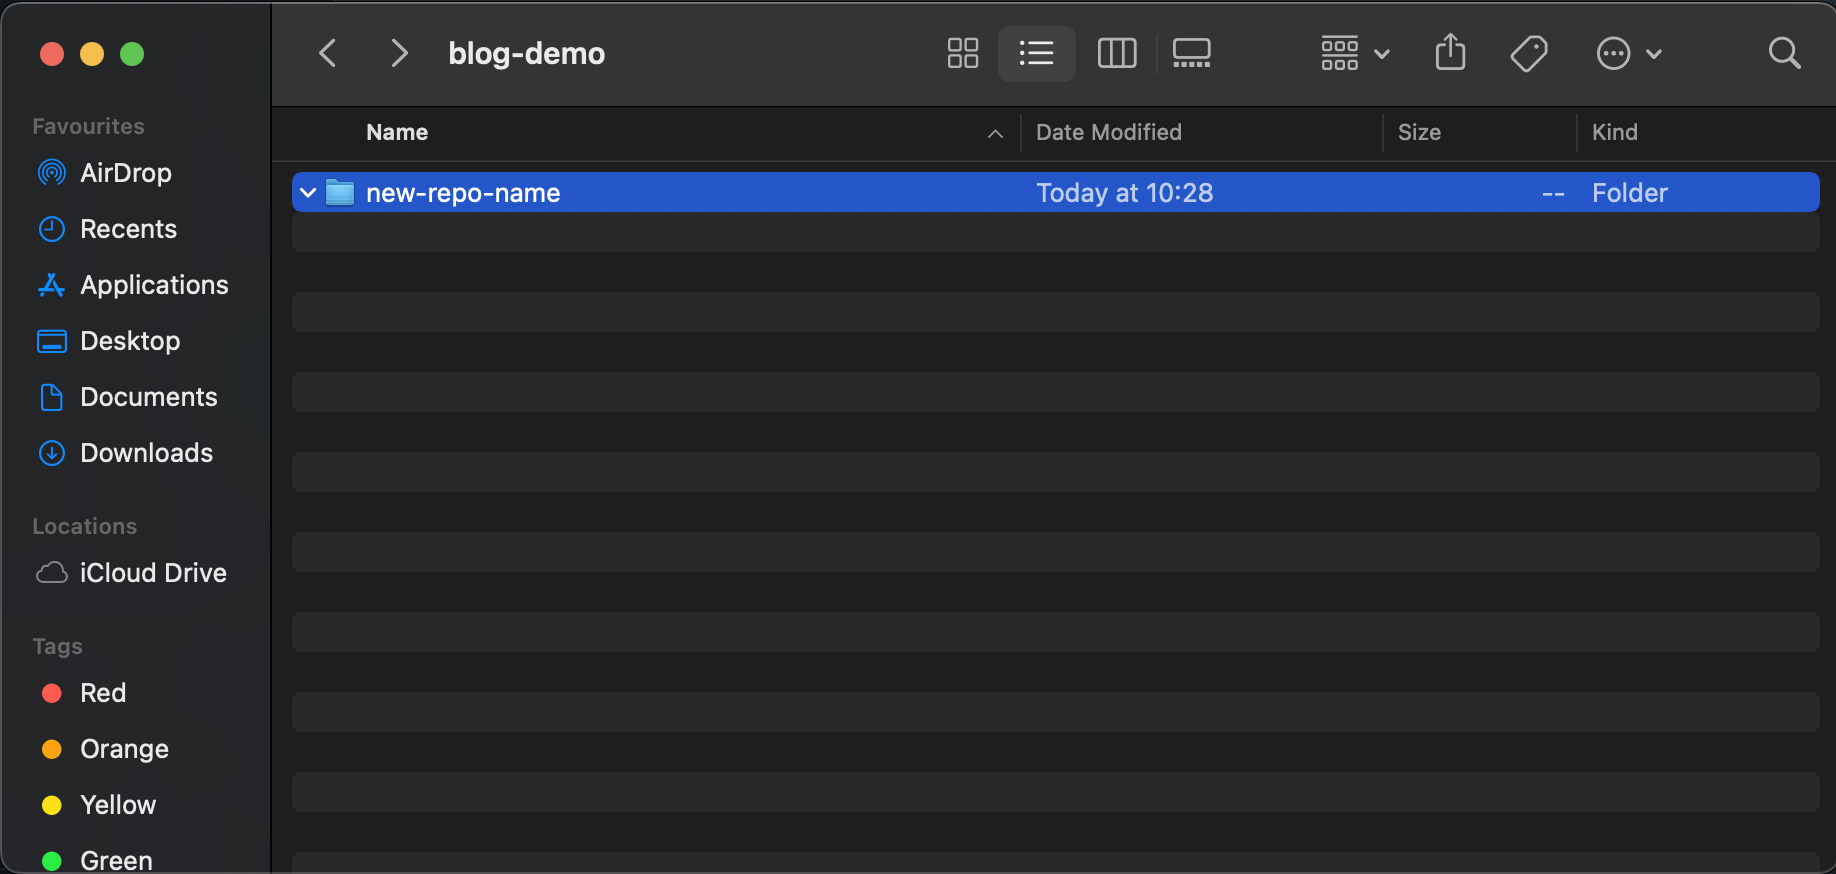
You may be asked for your GitHub credentials at this point, be sure to use the email address and password you used to create your GitHub account. Your command line should come up some lines of code and finish without errors. You can use ls in the command line to see your new git repo on your local environment, or navigate via your document explorer. You should see an empty folder with the name of your git repo as the folder name.
Using an existing repository
Good news, this is the same as the steps for using a new GitHub repo (outlined previously), except you start off on the desired GitHub repo page which will most likely already have files in.
Using your repository
Now you've set up your repo, it's yours for the using. In new repos you will only have one branch main, however, if you've cloned an existing repo there may be many (you might also see a master branch, this is the legacy word for the main branch. For an overview on what branching is please see my previous post.
If you want to start working in your repo, make sure you create a new branch and follow the guidelines and conventions of the project team. To create a new branch from the command line, use:
$ git checkout -b <new-branch-name>
Where new-branch-name is replaced with your desired branch name. It is not uncommon to see something like feature/new-feature-name format, which just helps to understand what branches are for, in this case creating a new feature.
If you want to change branch, you use the same command but without the -b.
$ git checkout <existing-branch-name>
When you're happy with the changes/additions you've made for the time being and would like to save them to the repository, make sure you're in the correct branch and then "add" your the files you want to commit to the staging area before "committing" it and "pushing" it to the cloud repo. You might use something that looks like this:
$ git add <new_file.py> # you can use . to add all files with changes.
$ git commit -m "Changes made to new_file.py" # the part in quotation marks is the message you wish to attach to the commit, usually this briefly outlines the changes. You cannot commit without this.
$ git push # this code actually sends your code to the cloud repository, you can even check it via the GitHub user interface, the update should be pretty instant depending on how much you've pushed.
Once you've pushed your code and you're finished with the feature, typically you would want to merge that branch to the main branch. Now, it is possible to do this from the command line but I would urge you to do this with caution as there are best practices that need to be followed. For completion, I will add the code here on how to merge a branch, but this may not be the way you will do this in practice.
You can in theory merge any branch to any other, but for this example I'll use main and feature for ease. Firstly, make sure all the changes are committed in the feature branch. Navigate to your main branch and then merge the feature branch.
$ git checkout main # navigate to main branch
$ git merge feature # merge feature branch into main branch
$ git branch -d feature # delete feature branch
Again, whilst I have included this for completion, in reality this is probably not how you'll be merging code in practice and it isn't how I would recommend doing it. (I'll be sure to create a blog post on this in the near future!)
How do I know what's been staged/committed?
Sometimes, it can be tough to remember if you've added changes already when you're ready to commit and push these. There might be times you make several commits before you push them all to the cloud repo. Thankfully, there's an easy way of checking this (also this is where your commit messages come in handy!) The follow code will print out the status of different files in your git repo:
$ git status
The output might look something like this:
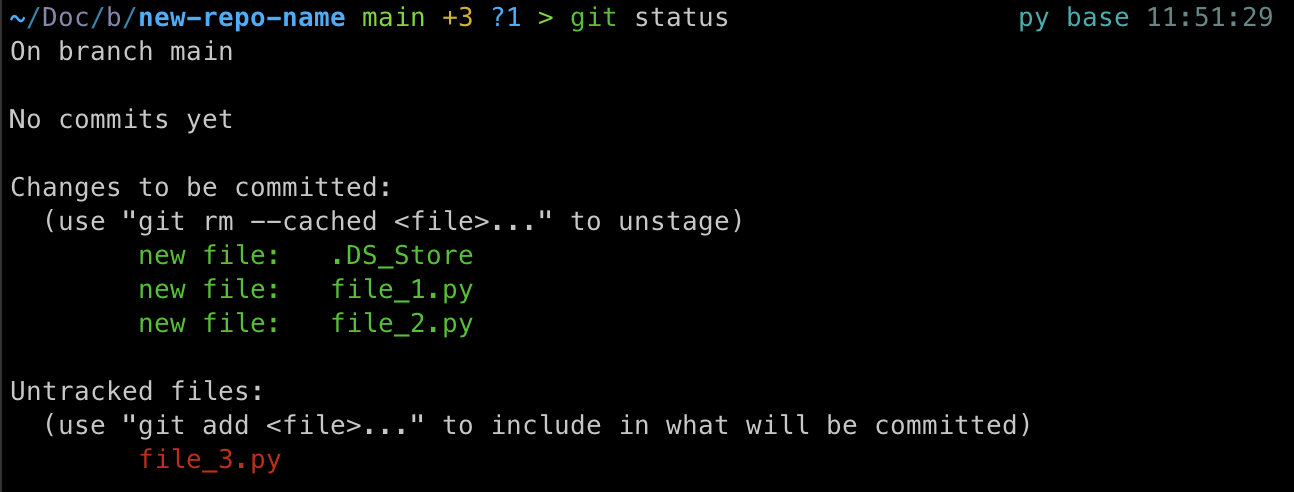
Here, file_1.py and file_2.py have been added ready to be commit, but the file_3.py has not.
Getting help with git
If you're ever stuck with git, you can always use the following where you insert the command you'd like to know more about:
$ git help <command>
The documentation provides some commonly used commands and further information on how to get help.
There is always the internet too, there is so much help and guidance out there in various forms (videos, blogs etc) - if you're just getting started with git, the chances are someone has stumbled across the same issue or similar and the answer should be pretty straightforward to find.
That's it on this initial dive into getting started with git and cloud repositories. It's been a long one, so if you made it this far thank you - it can be quite a dense topic! This is in no way a comprehensive guide, but hopefully enough to get you going and starting seeing the value GIT can provide.